Cob Building
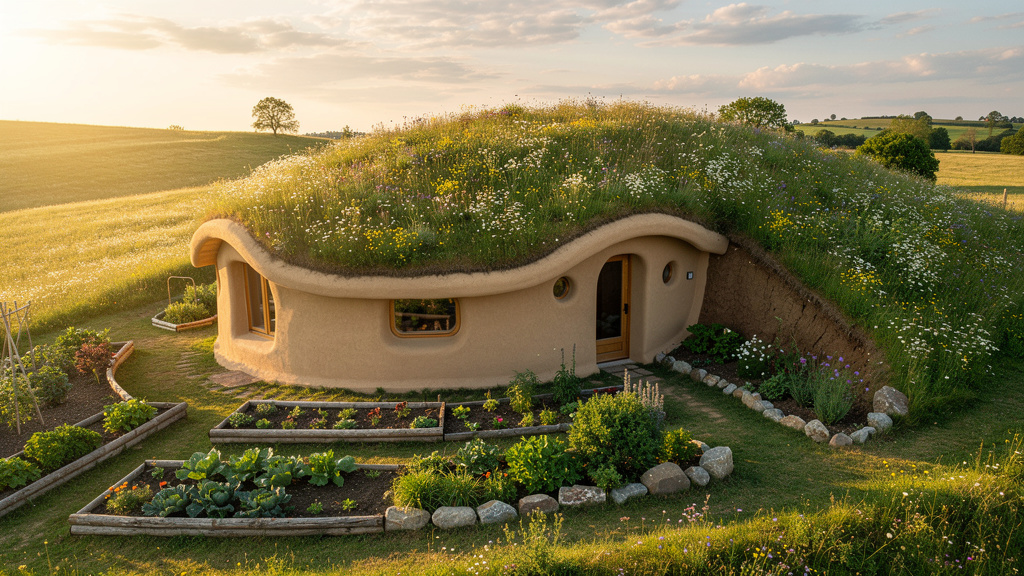
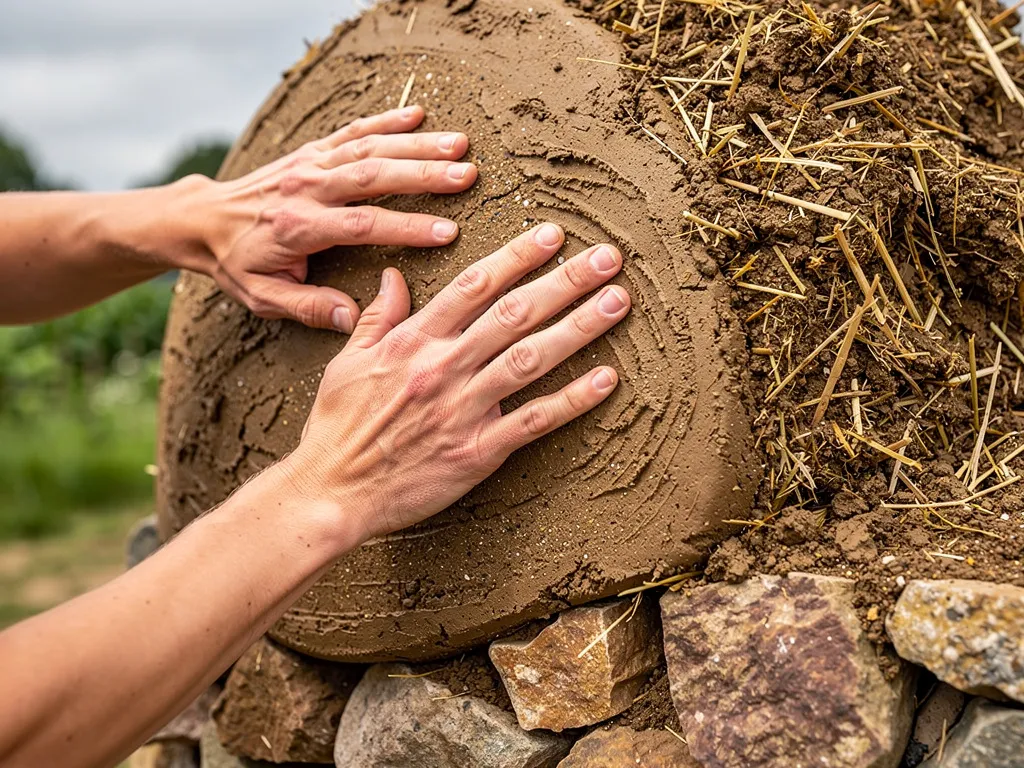
Cob is one of the oldest construction materials still in active use. Thousands of cob buildings in Devon, England have stood for 500 years. The mix is simple — clay-rich soil, coarse sand, and long-fiber straw combined with water — but the execution requires patience and an understanding of how the material dries and moves. A well-built cob cottage in a suitable climate can last indefinitely with basic roof and plaster maintenance. Material cost runs $5–$15 per square foot ($54–$161/m²), with most of the cost in foundations, roofing, and finish materials rather than the wall mass itself, which is often free from your own site.
This page covers everything from identifying usable soil to applying the final plaster coat. It assumes you have never worked with cob before.
Understanding How Cob Works
Cob is a monolithic wall system — there are no joints, no courses of individual units, no mortar between pieces. The wall is sculpted in place and dries as a single continuous mass. This gives it excellent resistance to moisture infiltration (no joints for water to travel through) but also means it must dry slowly and uniformly or it cracks severely.
Thermal performance: Cob has a thermal mass of approximately 30–35 BTU/ft²·°F (170–200 kJ/m²·K) for a 12-inch (30 cm) wall. Its insulation value is low — roughly R-0.4 per inch (RSI 0.07/cm), so a 12-inch (30 cm) cob wall is approximately R-5. However, thermal mass delays temperature peaks by 8–12 hours. In climates with 20–30°F (11–17°C) diurnal temperature swings, a cob building stays comfortable without active heating or cooling through much of the year.
Where cob works best: Mediterranean climates, semi-arid regions, and temperate oceanic climates (UK, Pacific Northwest with roof protection). It can succeed in wetter climates with aggressive roof overhangs, lime plaster, and a well-drained foundation. It is not recommended for climates with sustained freezing temperatures and driving rain without significant thermal insulation upgrades — see Insulation for supplemental strategies.
Step 1 — Soil Testing
The most critical variable in cob is your soil's clay content. Too little clay and the mix crumbles; too much and it shrinks and cracks badly.
Jar test:
- Fill a quart (1 L) mason jar one-third full with soil from a test pit at least 12 in (30 cm) below the surface. Topsoil contains organic matter that weakens cob.
- Add water to fill the jar, cap it, and shake vigorously for 2 minutes.
- Set the jar down and wait. Sand settles in about 1 minute. Silt settles in 1–2 hours. Clay stays suspended for 24–48 hours.
- After 24 hours, measure the layers. Target: 25–40% clay (top layer), 30–50% silt (middle layer), 20–40% sand (bottom layer).
Ribbon test (faster field check):
- Take a golf-ball-sized piece of moist soil and roll it into a snake about 3/4 in (2 cm) in diameter.
- Hold one end and let the other end hang. A ribbon longer than 2 inches (5 cm) before breaking indicates adequate clay content.
- If the ribbon breaks immediately, clay content is too low — you must import clay or find a different source.
Drop test:
- Form a fist-sized ball of moist mix.
- Drop it from chest height (approximately 4 ft / 1.2 m) onto hard ground.
- It should flatten and hold together without splattering. If it shatters, the mix is too dry or too sandy. If it pancakes into a flat puddle, it's too wet or too clayey.
Field Note
Dig test pits in several locations on your site before deciding on a soil source. The clay content can vary enormously within 50 feet (15 m). On many sites, the best cob soil is the subsoil excavated for the foundation itself — plan to stockpile it rather than haul it away.
Step 2 — Mix Development and Test Bricks
Never begin a cob building without first making and drying a series of test bricks at different ratios. A test brick takes 2 weeks to dry — plan this into your schedule.
Starting ratios (by volume):
| Component | Range | Starting Point |
|---|---|---|
| Clay-rich soil | 45–60% | 50% |
| Coarse sand | 35–50% | 45% |
| Long straw (wheat, rice, or rye) | 10–15% | 5% |
Sand must be sharp, washed, coarse sand — not beach sand or fine mason's sand. Angular particles resist shear. Straw must be long-fiber, dry straw — not hay (which contains seeds and organic matter) and not chopped straw (too short to provide tensile reinforcement). Strands of 8–12 in (20–30 cm) are ideal.
Making test bricks:
- Mix three batches at slightly different sand ratios: 40%, 45%, and 50% sand by volume.
- Mix each batch thoroughly on a tarp using your feet — traditional cob mixing is done by treading, not by machine.
- Form bricks approximately 4 × 8 × 2 in (10 × 20 × 5 cm) and mark each ratio.
- Dry in a shaded, ventilated space for 14 days minimum.
Evaluating dried test bricks:
- Cracking: Fine surface cracks are normal. Deep cracks wider than 1/16 in (1.5 mm) indicate too much clay — increase sand ratio.
- Strength: The brick should not crumble when handled firmly. Crumbling = too much sand or too little clay.
- Shrinkage: Measure the brick before and after drying. Acceptable shrinkage is 2–4% in each direction. More than 5% shrinkage indicates excessive clay.
- Scratch test: You should not be able to scratch the dried surface easily with your fingernail. If you can, the mix is too weak.
Step 3 — Foundation and Stem Wall
Cob is vulnerable to two things: frost heave from below and water splash from above. The foundation prevents both.
Foundation options:
- Stone rubble foundation: Lay dry-stacked or mortared fieldstone or river rock 18–24 in (46–61 cm) wide, extending 12 in (30 cm) below the frost line. This is the traditional method and the lowest cost ($300–$600 for a small cottage).
- Poured concrete footing + stem wall: Most code-compliant option. Pour a continuous footing 18 in (46 cm) wide × 12 in (30 cm) deep below frost line. Raise a CMU or poured concrete stem wall to 12–18 in (30–46 cm) above finished grade.
The stem wall rule: The base of any cob wall must be at least 12 inches (30 cm) above exterior grade. This protects the cob from rain splash — the most common cause of cob wall failure at the base. In areas with heavy rainfall or irrigation use, raise the stem wall to 18–24 in (46–61 cm).
Capillary break: Install two layers of roofing felt or a rubberized membrane on top of the foundation before the first layer of cob. Water will wick up through any porous masonry; the break stops it at the foundation top.
Step 4 — First Wall Lift
Cob walls are built in lifts (horizontal layers) of 8–12 in (20–30 cm) per day. Each lift must firm up before the next is applied — typically 24–48 hours depending on humidity and temperature.
Preparing the mix:
- Lay a tarp on flat ground. Pile clay soil in the center.
- Add sand and straw in the correct ratios (from your test brick results).
- Add water until the pile is uniformly moist — about 15–20% moisture by weight. The mix should hold shape when squeezed but not be sticky.
- Mix by treading with bare feet or rubber boots for 20–30 minutes, folding the tarp edges inward to keep material from spreading.
Applying the first lift:
- Rough up the stem wall surface — chip or scratch it to create mechanical key for cob adhesion.
- Apply a slurry coat (thin clay-water mix) to the stem wall top. This acts as a bonding agent.
- Press cob onto the stem wall in fist-sized lumps, working around the perimeter. Pack each lump firmly against its neighbor with thumb pressure.
- Build up evenly around the perimeter — do not build one section high while leaving others low. This creates differential drying and cracking.
- Target lift thickness: 8–10 in (20–25 cm) per course. Wider is possible but requires longer drying time.
Shaping and consolidating:
After each lift is placed, use your hands and a wooden float to consolidate the surface and maintain wall plumb. The outside and inside face should be pressed firm. Use a straightedge (a long level or a 6 ft / 1.8 m 2×4 plank) to check plumb every 2 feet (60 cm) of height.
Cob walls are typically 12–24 in (30–61 cm) thick. Most small buildings use 12–16 in (30–41 cm) for single-story structures.
Step 5 — Drying Between Lifts
This is where most first-time cob builders make their biggest mistake: they rush. Wet cob cannot support its own weight plus the weight of additional material above it. Stacking lifts too quickly causes the wall to slump, crack, or bulge outward.
Test for readiness:
- Press your thumb firmly into the top of the lift. If your thumbprint holds but you feel some resistance, it's ready for the next lift.
- If your thumb sinks more than 1/2 in (13 mm) without resistance, wait another 24 hours.
- If the surface is rock-hard and you can't leave any impression, lightly mist with water before applying the next lift — dry cob won't bond.
Drying conditions:
- Ideal: 65–85°F (18–29°C), moderate humidity, light breeze
- Protect from direct sun during the first 24 hours of each lift — too-fast drying causes surface cracking before the interior sets
- Cover with burlap or plastic sheeting if rain is expected within 24 hours of application
- In humid climates (above 80% RH), allow 48–72 hours between lifts
Step 6 — Windows, Doors, and Openings
Install rough buck frames before building past opening height.
- Build buck frames from dry 2 × 6 in (38 × 140 mm) or 2 × 8 in (38 × 184 mm) lumber. Frame to rough opening size plus 1/2 in (13 mm) clearance on all sides for final window/door installation.
- Set the frame in position as you build up cob to its base height. The frame sits on a course of cob — do not let it rest on the foundation.
- Continue cob alongside and above the frame. Cob is monolithic, so it naturally integrates around the frame as it's built.
- Lintels: Over windows up to 36 in (91 cm) wide, a horizontal timber lintel is sufficient — use a 4 × 6 in (89 × 140 mm) hardwood beam minimum. For wider openings, use a timber arch or structural steel angle.
- Maximum opening width: no more than one-third of wall length between supported corners.
Step 7 — Full Cure Before Plaster
After reaching full wall height, the entire wall must dry and cure before any plaster is applied.
Cure time:
- Thin walls (12 in / 30 cm): minimum 4–6 weeks in dry climates, 8–12 weeks in humid climates
- Thick walls (18–24 in / 46–61 cm): minimum 8 weeks dry, 16+ weeks humid
During cure, the wall will develop hairline shrinkage cracks. This is expected and normal. Cracks up to 1/16 in (1.5 mm) wide are cosmetic and will be filled by plaster. Cracks wider than 1/4 in (6 mm) should be filled with fresh cob mix before plastering.
Step 8 — Plaster Application
Plaster protects the cob from weather erosion and gives the building its finished appearance. Never use an impermeable plaster like standard Portland cement — it traps moisture inside the wall and causes cracking and rot.
Three-coat earthen plaster system:
- Scratch coat: 1 part clay : 2.5 parts coarse sand : short straw (1/2 in / 13 mm). Apply 1/2 in (13 mm) thick. Scratch horizontal lines with a notched tool while still fresh. Let dry 48–72 hours.
- Brown coat: 1 part clay : 2.5 parts fine sand. Apply 3/8 in (10 mm). Smooth with a wood float. Let dry 1 week.
- Finish coat: 1 part clay : 3 parts fine sand : 1/2 part fine fiber. Apply 1/8 in (3 mm) with a stainless steel trowel. Burnish when leather-hard for a smooth finish.
Lime plaster (for exterior in wetter climates):
- Mix: 1 part hydrated lime : 2.5 parts sharp sand
- Apply over a fiberglass mesh embedded in the first coat for crack resistance
- Allow 28 days cure time between coats — lime reacts with CO₂ in air to harden (carbonation process)
- Lime plaster is vapor-permeable — critical for cob walls to breathe
Cost: Earthen plaster using site soil runs $0.50–$1.50/sq ft ($5–$16/m²). Commercial bagged lime plaster runs $3–$6/sq ft ($32–$65/m²).
Cost Summary
| Item | Low End | High End |
|---|---|---|
| Foundation and stem wall | $400 | $2,500 |
| Sand (5–10 tons for 400 sq ft structure) | $150 | $600 |
| Straw (5–10 bales) | $25 | $80 |
| Buck frames and door/window frames | $200 | $800 |
| Lintels and structural timber | $100 | $400 |
| Plaster materials | $300 | $1,200 |
| Roofing (basic) | $1,500 | $5,000 |
| Total materials (400 sq ft / 37 m² cottage) | $2,700 | $10,600 |
Primary labor for a 400 sq ft (37 m²) cob cottage: 800–2,000 person-hours, typically spread over one full building season (spring through fall).
Common Mistakes
| Mistake | Consequence | Prevention |
|---|---|---|
| Skipping test bricks | Wrong ratio, major cracking | Always make and dry test bricks first |
| Using topsoil | Organic decomposition, weak mix | Source subsoil from 12 in (30 cm) or deeper |
| Rushing lifts | Wall slump and structural cracks | Thumb test before every new lift |
| Insufficient stem wall height | Base erosion within 5–10 years | Minimum 12 in (30 cm) above grade |
| Impermeable exterior finish | Moisture trap, wall failure | Use only lime or earthen plaster |
| Small roof overhang | Rapid plaster erosion | Minimum 18 in (46 cm), ideally 24 in (61 cm) |
Related Pages
- Earthbag Construction — bag-based natural building for structural walls and domes
- Insulation — improving thermal performance of thick earthen walls
- Weatherproofing — drainage, roof overhangs, and moisture management
- Soil Testing — determine clay content in your native subsoil
- Composting — manage organic waste generated during construction